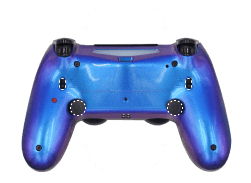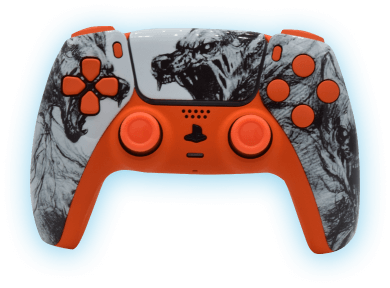


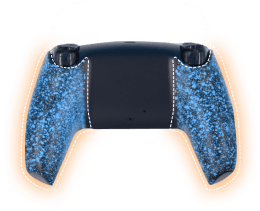


PS5 Controller Shoulder Button Extenders
Custom Triggers & Bumpers to Increase
Speed and Improves Accuracy
Update your browser to view this website correctly. Update my browser now
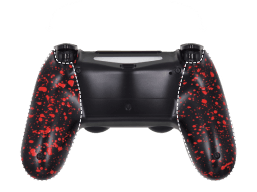
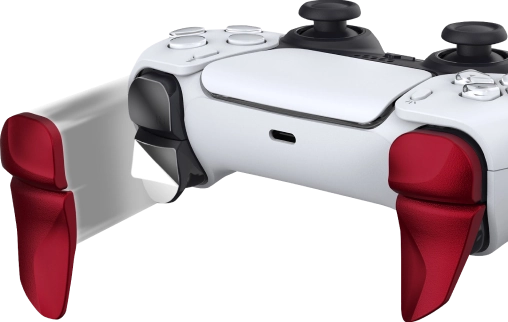
PS5 Controller Shoulder Button Extenders
Custom Triggers & Bumpers to Increase
Speed and Improves Accuracy


You’re about to read the latest and up to date PS4 Pro Modded Controller instructions. If you’ve purchased your controller before 1/14/2019 then visit the archived page as you may not happen to have the updated version.
This article contains the following sections:
At Glance
Jitter mod takes advantage of a glitch in some Call of Duty games allowing weapons to shoot faster than they were originally intended to do.
Since the Jitter Mod is a glitch, game developers find a way to patch it almost every time, therefore the mod has a very short period of life.
NOTE: Mega Modz Jitter hasn’t been updated since Black Ops 3. Although, It may still work on “old school” Call Of Duty games such as MW Remastered and MW2. It is not as effective on newer COD installments.
In Depth


The LED 1 indicator (top left) will flash and stay lit in YELLOW.

Want to learn more how LED MOD Indicator works? Click here

First LED will turn OFF. Jitter is OFF.
Jitter offers 8 sub-modes. You can always check what sub-mode you have currently active by following these steps:

The LED indicator will flash all 4 slots in WHITE indicating that the modchip entered the sub-mode checking menu. It will then show the number of a sub-mode you have active:
Upon checking the sub-mode, the modchip will automatically take you to the place you were before in 3 seconds. You are welcome to expedite the process by pressing the mod button on the back and exiting the sub-mode menu.
Want to learn more about the Sub-Modes Indication? Click here
To change Jitter sub-modes, you will have to go thru sub-mode checking menu first (see above).
The LED indicator will flash all 4 slots in WHITE showing that the modchip entered the sub-mode menu. It will then show the number of a sub-mode you have active currently.
NOTE: Keep in mind, there is a “3-second rule” that applies every time you check or change sub-modes. If you’ve been inactive for more then 3 seconds, the modchip will exit checking/changing sub-mode menu automatically.
TIP: There is “Quick Sub-Mode Scroll” option available on every Mega Modz Controller allowing you to get to the desired sub-mod quickly and avoid waiting for the modchip to go through the sequence of sub-modes.
Quickly tapping the R2 button a number of times increase the sub-mode number by the number of times the R2 button was tapped, getting you to the desired sub-mode rapidly.
Quickly tapping the L2 button a number of times decrease the sub-mode number by the number of times the L2 button was tapped, getting you to the desired sub-mode instantly.
Example: You have sub-mode number 1 active, tapping the R2 button 2 times quickly will take you to the sub-mode #3. Tapping on the R2 button 5 times quickly will take you to the sub-mode #6 (if available)
There are 8 sub-modes available:
| Sub-Modes | Speeds | Configurations | Notes |
|---|---|---|---|
| 1 | 7 | YY glitch | Jitter always works |
| 2 | 7 | YY glitch | While scoped, jitter turns off |
| 3 | 7 | XYY glitch | Jitter always works |
| 4 | 7 | XYY glitch | While scoped, jitter turns off |
| 5 | 255 | YY glitch | Jitter always works |
| 6 | 255 | YY glitch | While scoped, jitter turns off |
| 7 | 136 | XYY glitch | Jitter always works |
| 8 | 136 | XYY glitch | While scoped, jitter turns off |
TIP: Jitter Mod is deadly at a close range and not as effective at a long range, therefore, you may wanna use sub-modes 2,4,6 and 8 as the Mod will be turned off any time you scope your rifle In. Press your aim button and shoot normally to neutralize the enemy at a long range.
NOTIFICATIONS: Mega Modz modchip technology notifies you when mods get turned ON and OFF. The modchip will send a signal to rumble motors anytime you activate or deactivate mods. The feature will allow you to focus on gameplay and keep your eyes on the screen without looking at the LED Indicator.
Want to learn more about Mega Modz Haptic Technology? Click Here
Don't like the pre-tuned speed we've provided? Create-your-own!
Jitter can accept a “speed number” from 0 through 255. The lower the number, the faster the mod will try to glitch shoot.
Jitter speed is programmed by individually setting the hundreds digit, the tens digit, and the ones digit. For example, if the speed is 162 shots per second. "1" is the hundred digit, "6" is the tens digit, and "2" is the ones digit.
If you haven’t done so already, we strongly recommend learning how custom speeds indication works here before entering a “Programming Mode”.
Let's begin!
NOTE: The controller will always remember the last programming speed you have before powering down.
There is an “8-second rule” that applies every time you enter “Programming Mode”. If you’ve been inactive for more then 8 seconds, the modchip will exit programming menu automatically.
TIP: There is “Quick Speed Scroll” option available on every Mega Modz Controller allowing you to get to the desired speed quickly and avoid waiting for the modchip to go through the sequence of speeds.
Quickly tapping the R2 button a number of times increase the speed number by the number of times the R2 button was tapped, getting you to the desired speed quickly.
Quickly tapping the L2 button a number of times decrease the speed number by the number of times the L2 button was tapped, getting you to the desired speed quickly.
Example: You have speed number 1 active, tapping the R2 button 2 times quickly will take you to the speed 3. Tapping on the R2 button 5 times quickly will take you to the speed 6.
If you would like to only check custom numbers in a certain sub-mode, then, after entering a programming mode and pressing UP on the D-pad, you can see the numbers in the slots without changing them by pressing the mod button and skipping the adjustment part.
It will look like this
1. Scroll to the Jitter sub-mode you would like to check
2. Enter a programming Mode
3. Tap UP on the D-pad to get into Jitter custom speeds
4. First digit slot you’ll see is the hundreds. See the number and press the mod button
5. Second digit slot is the tens. See the numbers and press the mod button.
6. Third digit slot is the ones. See the numbers and press the mod button to exit the programming menu.
Jitter is compatible with COD4 Modern Warfare Remastered and MW2.
Having issues operating your Jitter Mod? Visit our Help Desk for troubleshooting.
Already have an account?