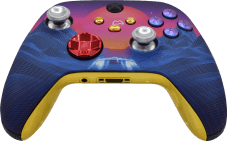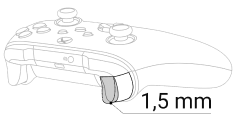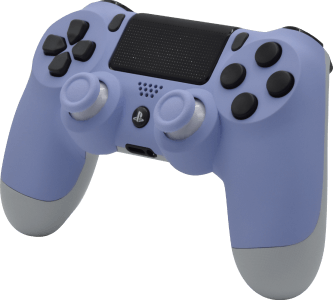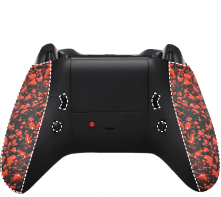


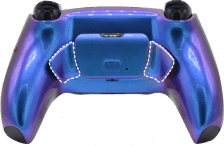
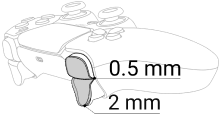


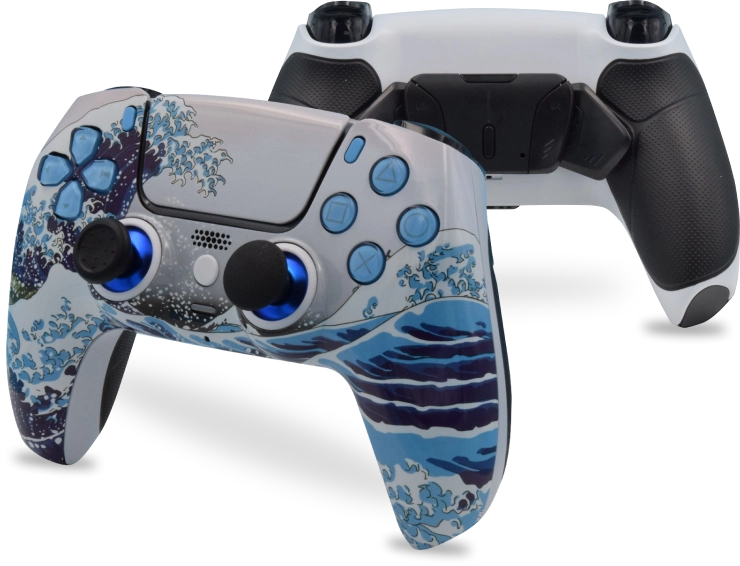
PS5 Controller Shoulder Button Extenders
Custom Triggers & Bumpers to Increase
Speed and Improves Accuracy
Update your browser to view this website correctly. Update my browser now
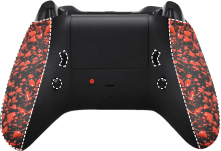
PS5 Controller Shoulder Button Extenders
Custom Triggers & Bumpers to Increase
Speed and Improves Accuracy
Extra 4 paddles/buttons can be installed on the controller, and these extra buttons can be re-mapped to perform the function of any stock button. For example, the re-mappable button can be set up to control the operational buttons (ABXY), so that any time the user presses the re-mappable button, the modchip presses those buttons for them. Remappable buttons are generally used so that the player doesn’t have to move their thumbs away from the thumbsticks during gameplay.
Please refer to the table below for all (15) remappable stock controller buttons:
NOTE: For this back button configuration only the Straight Remap function is possible—no multiple-button binding. If you are interested in what Mega Modz Macro Remap functionality can do, please visit this page.
TIP: One controller stock button function can be remapped to two back paddles.
Key Features:
Introduction
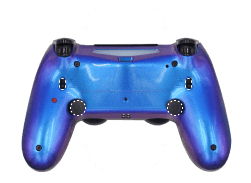
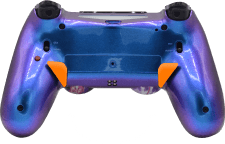
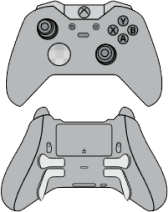
There are 3 main components besides the stock controller buttons involved in the process of configuring rear buttons.
The LED Indicator gives the user feedback (flashing or staying lit in red) whenever a programming mode is entered, the back buttons get assigned or the assignment gets canceled.
It is an additional built-in button located in the center of the attachment. The main and only purpose of it is to simplify the configuration process.
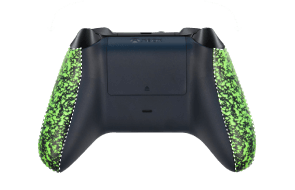
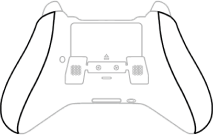
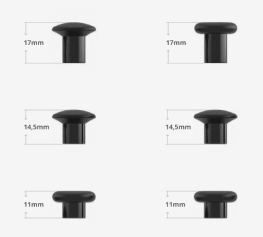
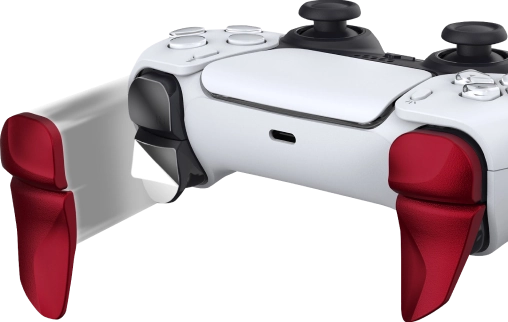
These two large and 2 small ergonomic buttons are located on the back of the controller in the area of middle and ring finger placement. The location of these buttons is very convenient because the user does not have to reach for them.
In order to assign controller buttons to the back K1/K2/K3/K4 paddles please follow these steps:
NOTE: Make sure the controller is turned ON and synced to the console
TIP: You can cancel the previously configured buttons assignment by following the same steps as above: controller button + back button for 3 sec. In the event of cancellation, the red LED light will flash 3 times slowly, indicating that the assignment has been canceled and the back button is cleared
NOTE: The back buttons won't perform in the programming mode. It’s important not to miss the step above in order to utilize the back paddles assignment in the game.
TIP: You can Factory Reset (clear assignments all at once) the back buttons by entering the programming mode (mod button + 5 sec) first, and then holding down the following controller buttons: D-pad Up, D-pad Left, Triangle, Circle, L1, and R1 for 7 seconds. After completing the Factory Reset the modchip will exit the programming mode automatically.
Already have an account?