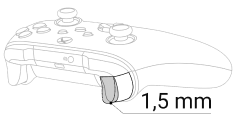


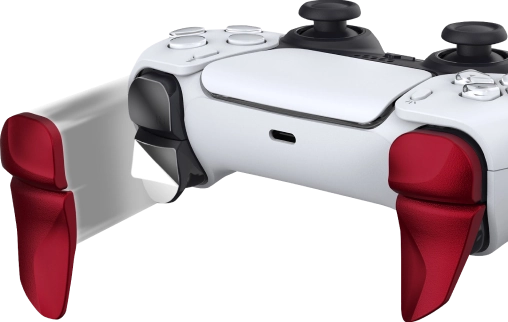
PS5 Controller Shoulder Button Extenders
Custom Triggers & Bumpers to Increase
Speed and Improves Accuracy
Update your browser to view this website correctly. Update my browser now
PS5 Controller Shoulder Button Extenders
Custom Triggers & Bumpers to Increase
Speed and Improves Accuracy

Macro Remap is a new functionality available on PS4 DualShock, PS5 DualSense, and DualSense Edge Controllers that lets the user utilize repeatable and continued stock button presses in the game via simple macros. Macros are sequences of events, such as stock button clicks and delays that can be played back to help with repetitive tasks. Macros are set up on additional ergonomic buttons (Mega Modz Macro Buttons) located on the back of the PS4 and PS5 controllers (stock back buttons on the Edge Controller). There are no additional apps required to configure the macro buttons. The process is quick and easy and done through the stock and macro buttons on the fly. The Macro Remap is not a game-specific feature. It can be utilized in any gaming title out there to help the user become a better player and get an edge over an opponent.
There are a few things to keep in mind:
In-Depth
There are 3 main components besides the stock controller buttons involved in the process of configuring shortcuts (macros).
It is a built-in LED board with advanced LEDs. It looks like a square consisting of 4 LEDs located next to each other. All four LEDs are mounted directly into the controller shell.
Slot 1 - upper left; Slot 2 - upper right; Slot 3 - bottom left; Slot 4 - bottom right.


LED Indicator lets the user interact with the modchip and be aware of what functions are active at any time. It also helps to scroll between sub-modes, set up custom values (unit delays), and get notifications about active macros in real time.
Each stock button is color-coded when it gets assigned to the macro buttons. At any given moment the user is able to detect which button is assigned and what configuration and setup it represents.
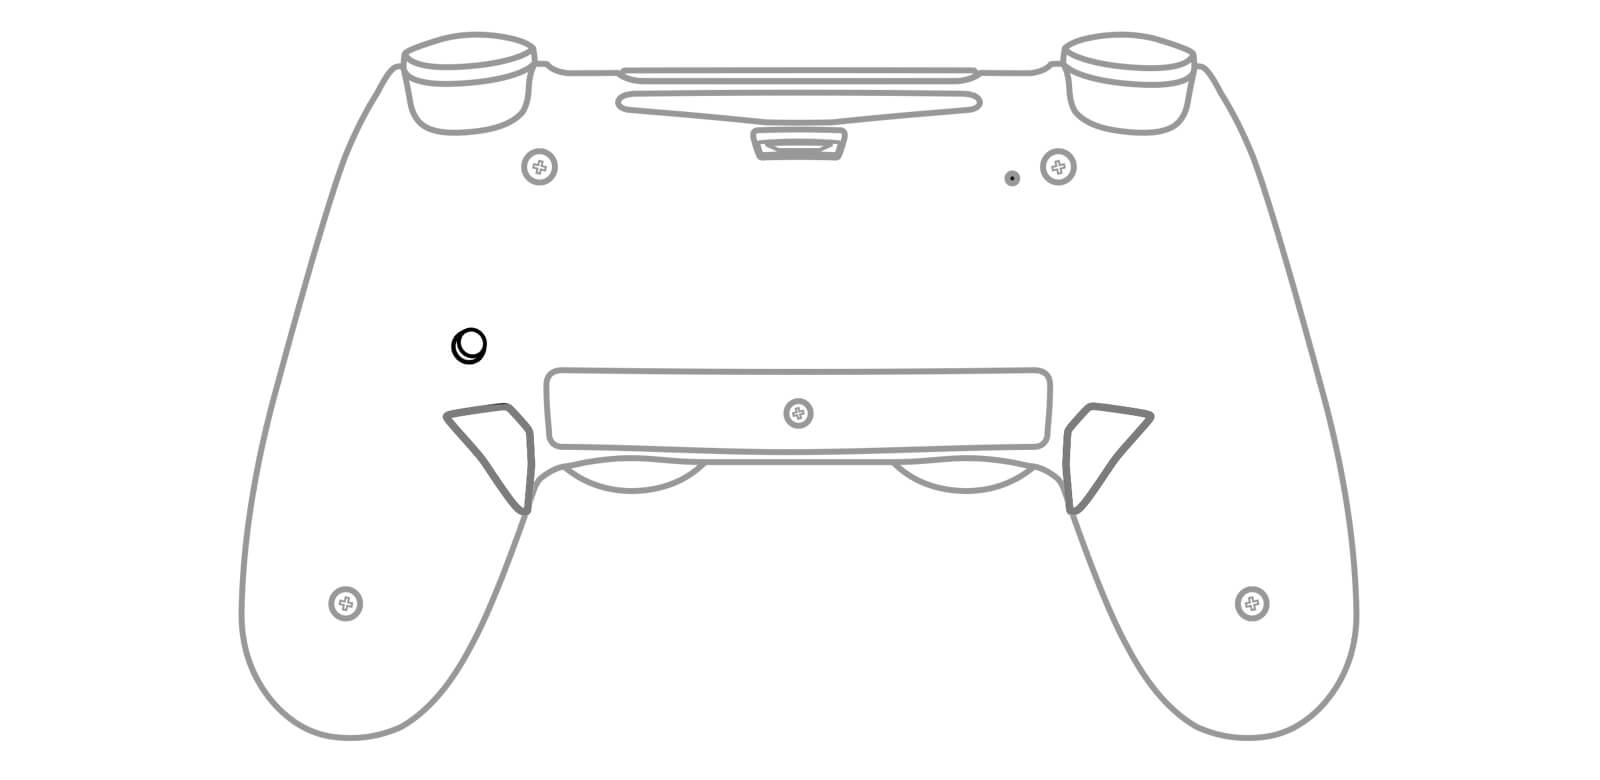
It is an additional small ON/OFF button located on the back of the controller on the right side just above the macro button. The main and only purpose of it is to simplify the configuration process. There is no need to press it for any other purposes during the gameplay.


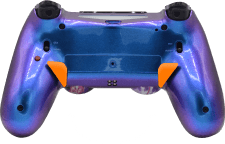
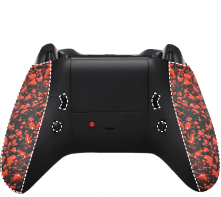
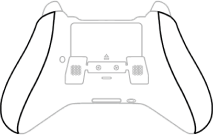
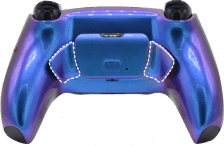
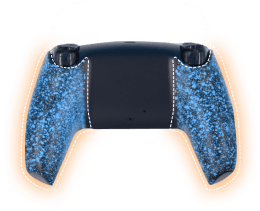
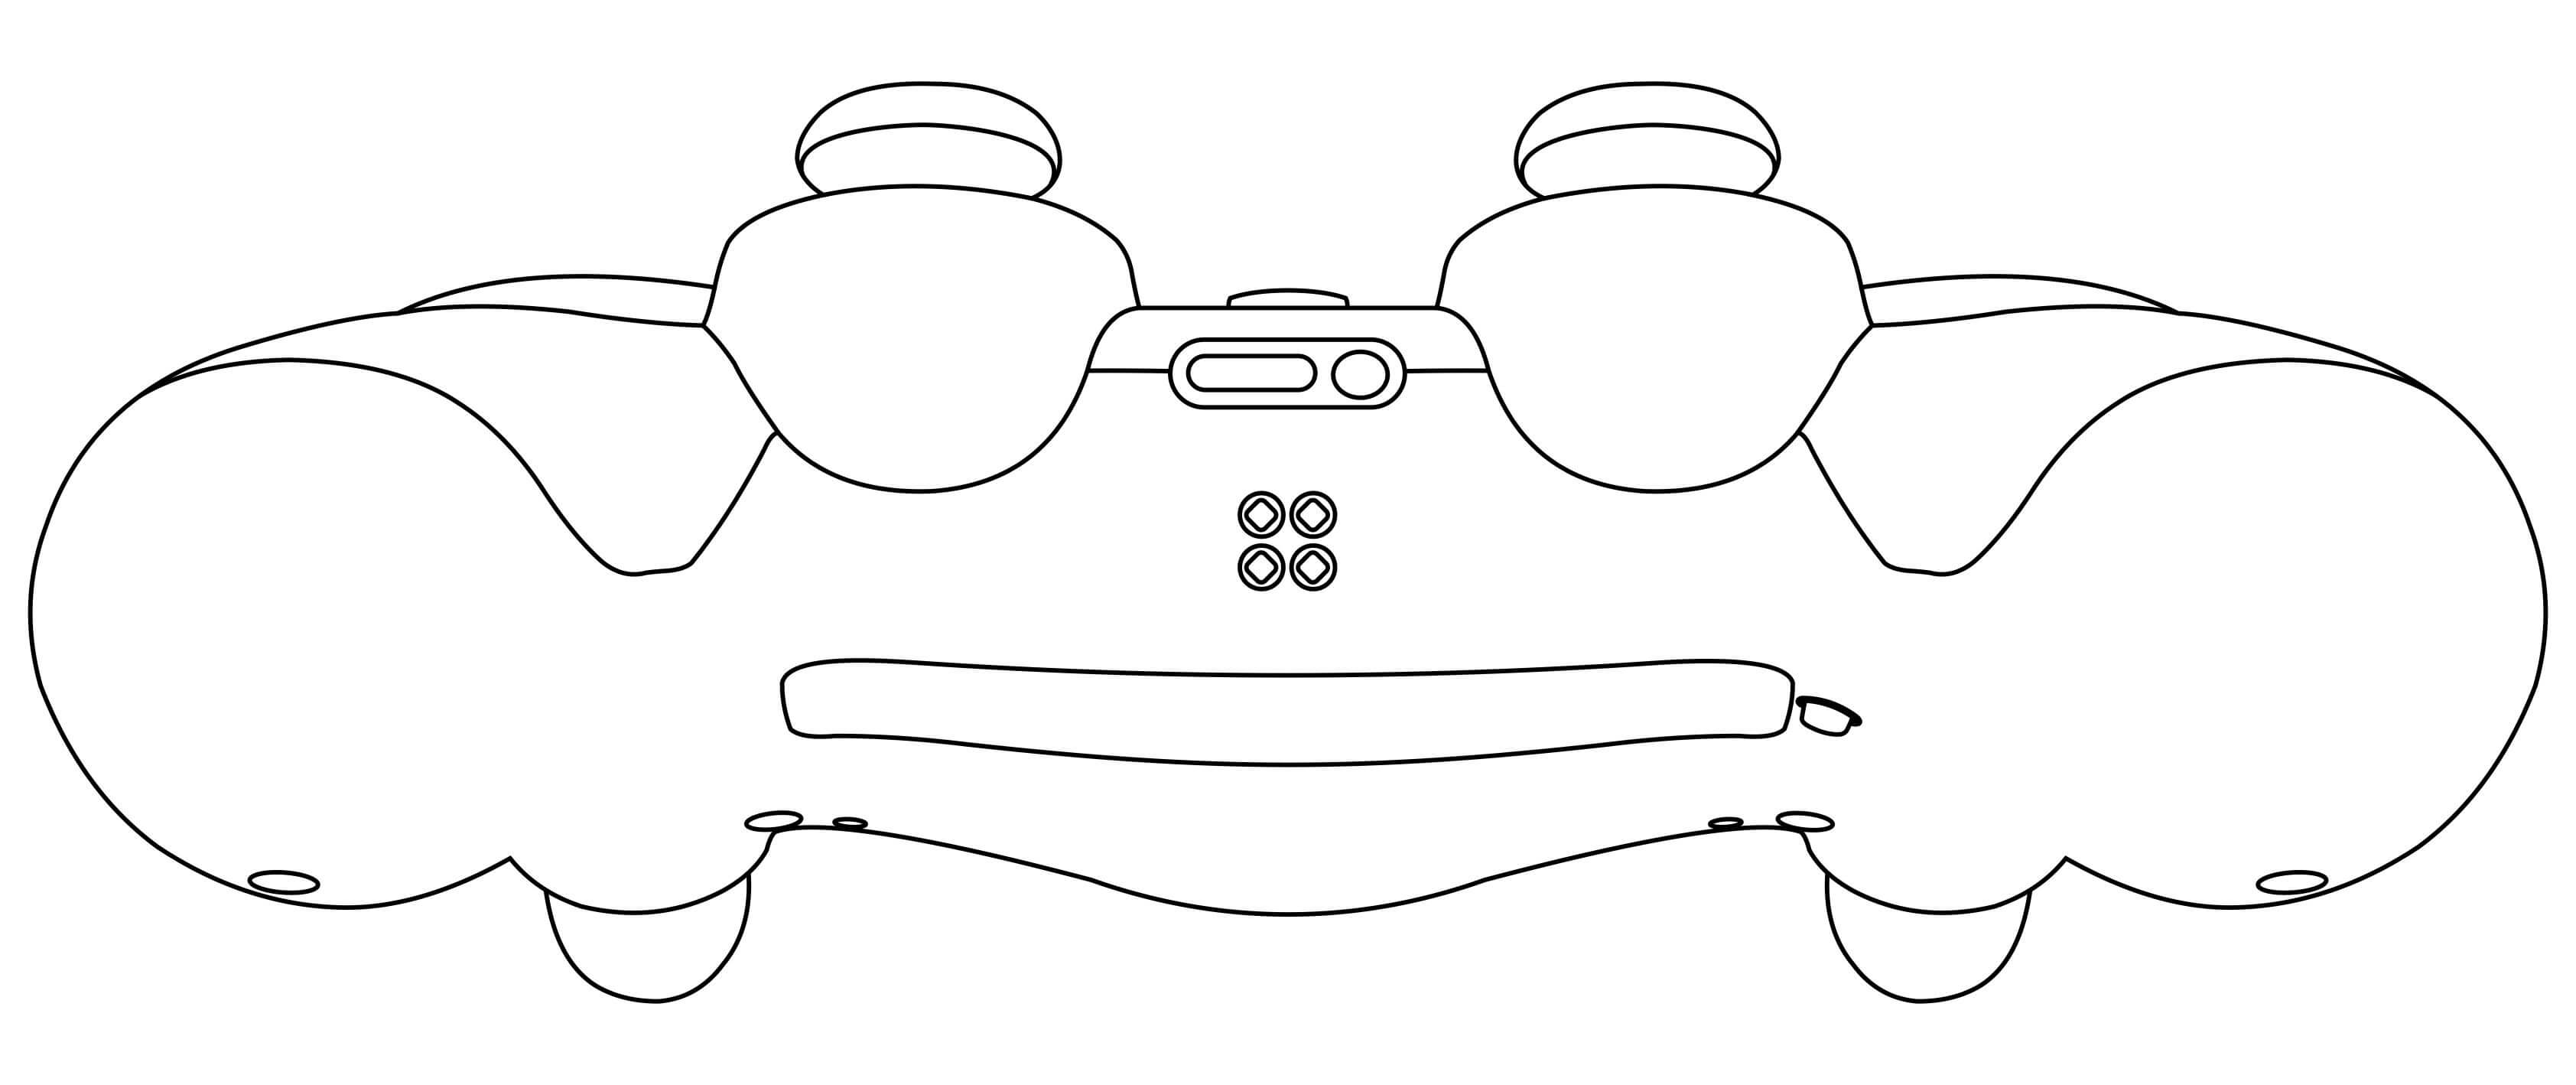
These two large ergonomic buttons are located on the back of the controller in the area of middle finger placement. The location of these buttons is very convenient because the user does not have to reach for them. To avoid any accidental clicks, the middle fingers can be moved up toward the center.
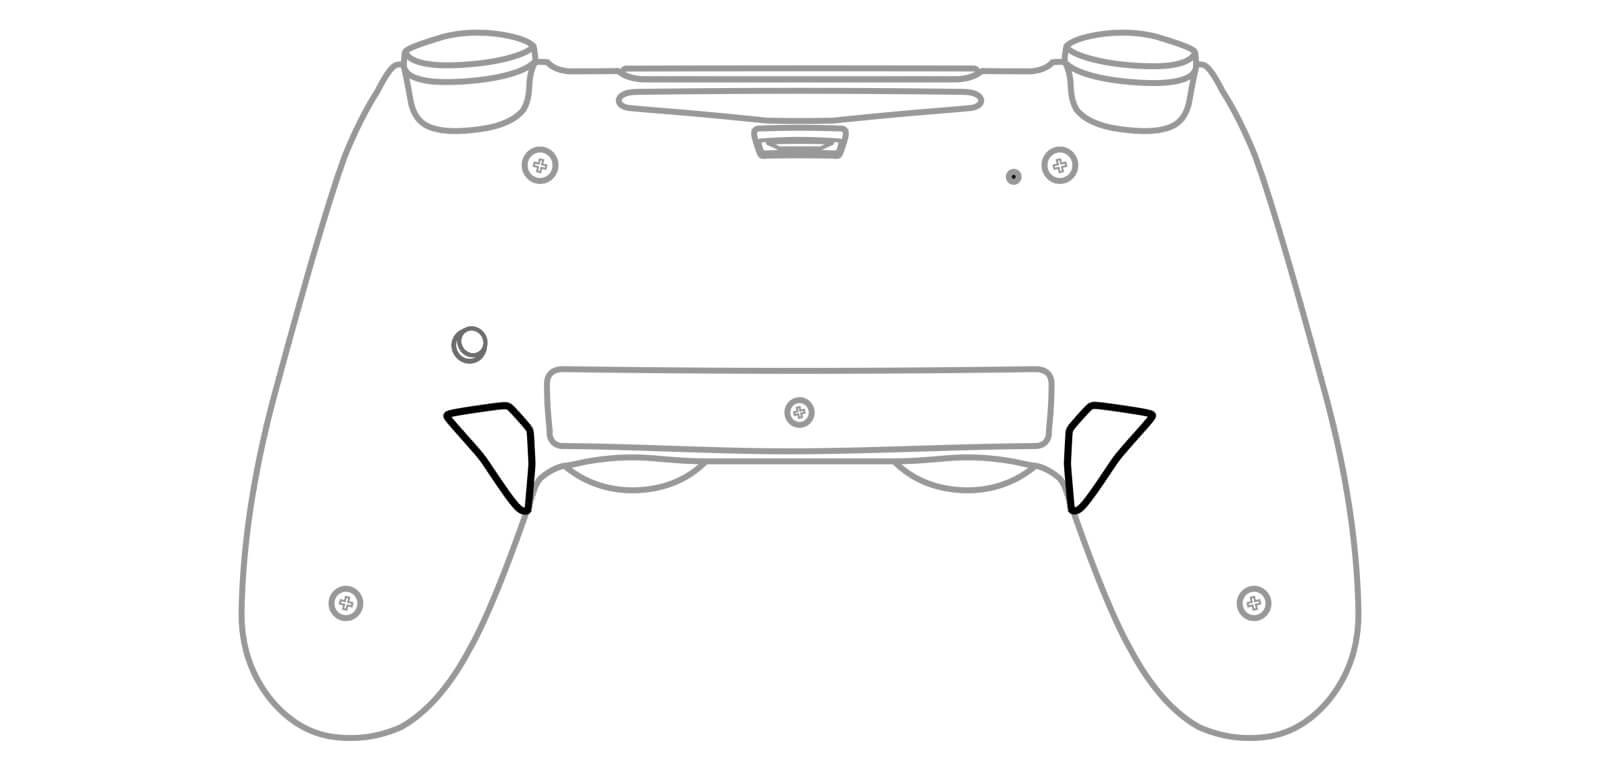


The Macro Buttons are the main tool in the game. Once set up, they will perform a sequence of programmed Instructions with a single click or become a turbo button.
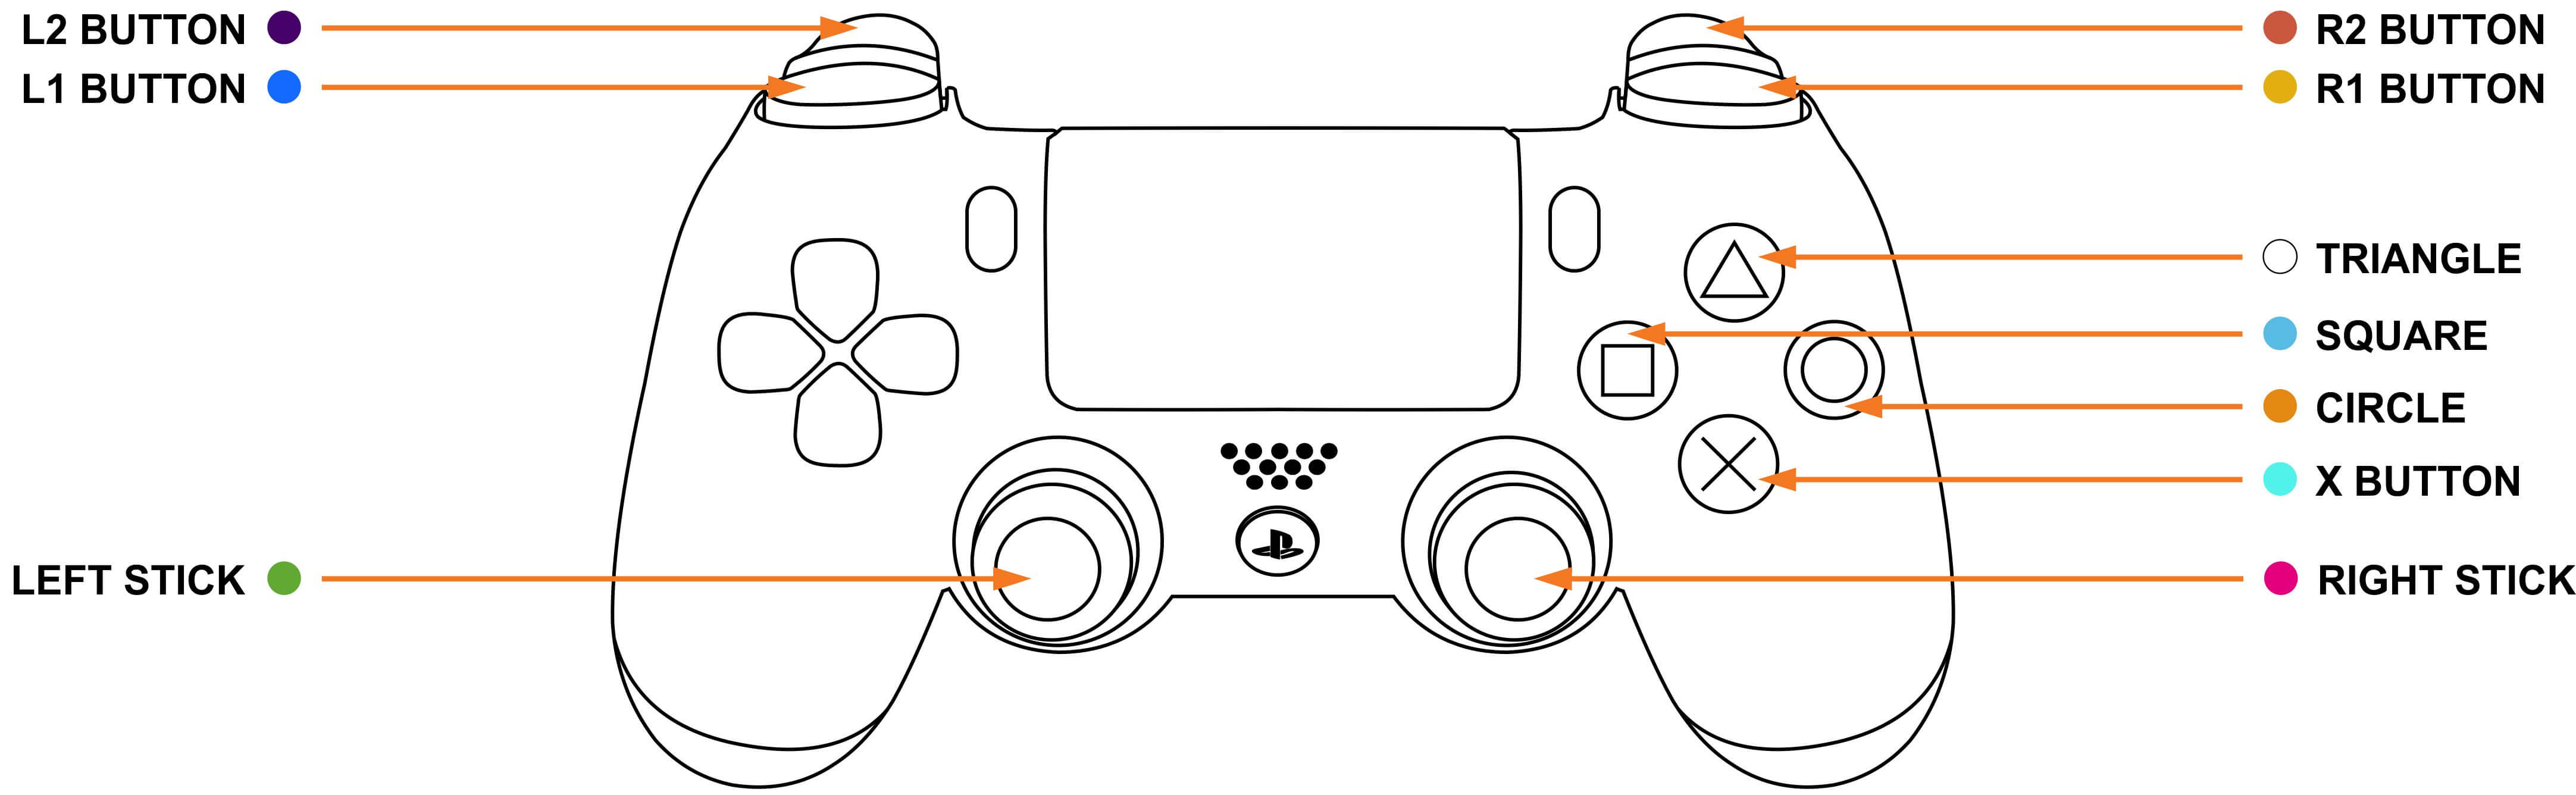
Color-coded LED lights help the user to better understand what’s going on with the modchip and macros. For instance, when a stock button gets assigned to a shortcut button, the LED indicator will represent a button in the color according to the table below:
| Stock Button | Color |
|---|---|
| R1 | Yellow |
| R2 | Red |
| L1 | Cyan |
| L2 | Purple |
| Left Stick | Green |
| Right Stick | Pink |
| Triangle | White |
| Square | Blue |
| X | Light Blue |
| Circle | Orange |
| D-Pad Up | |
| D-Pad Down | |
| D-Pad Right | |
| D-Pad Left |


Assigning a stock button to a macro button is the first step in configuring the macro button.
Table showing sub-modes and their respective functions
| Sub-Mode | Function | Notes | Adjustable Values |
|---|---|---|---|
| 1 | Simple Remap | Press the Macro Button and the modchip will mimic the stock button | No Adjustable Values |
| 2 | Turbo Function | Press and hold the Macro Button and the modchip will press and release the assigned stock button | The time between button presses and the time the button is pressed can be adjusted. |
| 3 | Turbo Double Tap | Click a macro button and the modchip will press the assigned stock button twice (Double Tap) | The time between button presses and the time the button is pressed can be adjusted. |
| 4 | Turbo Triple Tap | Click a macro button and the modchip will press the assigned stock button 3 times (Triple Tap) | The time between button presses and the time the button is pressed can be adjusted. |
| 5 | Continuous Press | Click a macro button and the modchip will continue pressing the assigned stock button the amount of time that has been configured | The time the button is pressed can be adjusted. |
Changing Macro Button sub-modes:


The LED indicator will flash all 4 slots in GREEN showing that the modchip entered the sub-mode menu. It will then show the sub-mode that is active currently.
Tap the R2 button to increase to the next sub-mode or tap the L2 button to decrease to the previous sub-mode.
To save the setting press the Mod Button.
NOTE: Keep in mind, there is a “3-second rule” that applies every time you change sub-modes. If you’ve been inactive for more than 3 seconds, the modchip will exit the sub-mode menu without saving the settings.
TIP: There is a “Quick Sub-Mode Scroll” option available on every Mega Modz Controller allowing you to get to the desired sub-mod quickly and avoid waiting for the modchip to go through the sequence of sub-modes.
Quickly tapping the R2 button will increase the sub-mode number by the number of times the R2 was tapped, getting you to the desired sub-mode rapidly.
Quickly tapping the L2 button will decrease the sub-mode number by the number of times the L2 was tapped, getting you to the desired sub-mode instantly.
Example: You have sub-mode number 1 active, tapping the R2 button 2 times will take you to sub-mode #3. Tapping on the R2 button 4 times will take you to sub-mode #5.
Once a Macro Button gets paired with a stock button, it automatically becomes active (See “Assigning Stock Buttons” section)
However, there is an option to turn a Macro Button OFF.
To do so follow the steps below:


The Slot 1 or Slot 2 LED corresponding to the left or right macro button will turn off indicating that the feature has been disabled.
You can enable the Macro Button again by repeating the same steps as turning it OFF. (Hold Mod Button and Tap Macro Button)
NOTE: The controller always remembers the last Macro Button setup before disabling it.
Example: The R2 button is configured on the right Macro Button with the second sub-mode (Turbo Function) and non-factory adjustable values (the button is being pressed for 50 ms, the delay between presses of 150 ms). Activating or pairing the right Macro Button with the R2 button returns to the saved configuration.
TIP: Turning Macro Buttons ON & OFF is not a common operation. The only reason to disable them is to not use these buttons in a game.
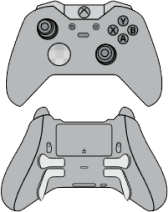
The DualSense Edge allows creating custom profiles to customize the controller’s button assignments including the Back Buttons through the controller user interface. This default feature operates independently of the Mega Modz Macro Remap sub-modes. If you want to learn more about creating Custom Profiles in the PlayStation App, please visit this page.
It is recommended that the controller back buttons in the Customization App be unassigned before proceeding to configure the Macro Remap sub-modes on your Mega Modz Edge Controller.
Since the Custom Profiles in the App and the Macro Remap are two separate controller functions, it is possible to assign 2 controller stock buttons to one paddle:
Quick Example:
Mechanics:
Any time the user presses the Left Paddle, a character will jump and shoot simultaneously (Jump Shot). If the gun you use is a semi-auto you can go even further by scrolling to the second Macro Remap sub-mode (Turbo Function). Now, by pressing the Left Paddle on the controller you’ll perform Jump Shot & Rapid Fire at the same time.
NOTE: Avoid binding 2 contradiction buttons/inputs to one paddle as it will confuse the controller and the gameplay may become unpredictable. A quick example of 2 contradicting buttons are the Jump and the Crouch/Going Prone buttons as these two actions cannot be performed simultaneously in a game or real world.
TIP: Use the quick Macro Remap ON/OFF function to your advantage whenever you have 2 buttons bound to one paddle (see the section above).
In the example above if you disable the Fire Button (configured through the modchip interface) then you’ll be left with only the Jump function (configured through the controller interface). Utilizing this technique will add flexibility to your gameplay as you can go back and forth to the different input configuration sequences on the fly.
Macro Cycle is a term referring to the complete timing sequence of a button action being executed.
Only sub-modes 3 (Turbo Double Tap) and 4 (Turbo Triple Tap) have Macro Cycles.
Sub-mode #3 cycle. Press the Macro Button and the modchip performs the following cycle:
Sub-mode #4 cycle. Press the Macro Button and the modchip performs the following cycle:
Sub-modes 3 and 4 have pre-programmed factory cycles. The user is able to adjust the cycle custom values (button’s ON and OFF timing). Please refer to the table below:
Macro Cycles For Sub-Modes 3 and 4
| Sub-Mode | Min/Max ON Button Timing & Defaults | Min/Max OFF Button Timing & Defaults | Cycle Duration |
|---|---|---|---|
| 1 | N/A | N/A | N/A |
| 2 | N/A | N/A | N/A |
| 3 | 50 ms - 3 sec (default 150 ms) | 50 ms - 3 sec (default 150 ms) | 450 ms = 150x2+150 |
| 4 | 50 ms - 3 sec (default 150 ms) | 50 ms - 3 sec (default 200 ms) | 850 ms = (150x3)+(150x2) |
| 5 | N/A | N/A | N/A |
NOTE: The shortest programmable timing period is 50 ms, and the longest is 3 sec for both values. (On and OFF button times). The default times are shown in red in the table.
IMPORTANT: In some games and situations increasing a cycle duration can be necessary and beneficial (mostly OFF button timing) but not always appropriate. If a gaming path suddenly changes, the user can always interrupt a cycle by pressing the same Macro Button. The only condition for that is a cycle being longer than a second. Cycles shorter than a second cannot be canceled.
NOTIFICATION: When any cycle is over or canceled, the rumble motor will vibrate for a brief period of time (duration - 300 ms) to notify the user.
Sub-mode 5 is a configuration where a stock button is pressed for a programmed period of time. Please refer to the table below:
Continuous Press (Sub-Mode 5)
| Sub-Mode | Min/Max ON Button Timing | Min/Max OFF Button Timing |
|---|---|---|
| 5 | 300 ms - 10 sec (default 3 sec) | N/A |
Press the Macro Button and the modchip holds down a paired stock button for a programmed period of time. The default timing is shown in red and is 3 seconds. The minimum allowed timing is 300 ms, and the maximum is 10 seconds.
TIP: If the Macro Button is pressed again while the programmed time is still in effect, the modchip will begin a new cycle and extend the time the paired stock button is pressed.
NOTIFICATION: When a button gets released or an input gets canceled, the motor rumbles will vibrate for a brief period of time (duration - 300 ms) to notify the user.
IMPORTANT: This feature comes in handy when the game requires the user to press and hold a button for a longer time than an ordinary click. It allows the user to free up a finger and be more focused on other important tasks. However, if a gaming situation suddenly changes, the user is able to cancel an input by double-tapping on the exact same Macro Button. Please note that double-tap has to be quick and take less than 500 ms. Keep in mind, that when a button is being held down, it may affect other stock button functions. Most of the time (but not always) the game settings won’t allow the user to utilize some other functions when a stock button is being held down. In this case, just double-tap the Macro Button to cancel the input and proceed with other actions.
IMPORTANT: This section provides advanced settings and requires a full understanding of all the operations described above before proceeding.
The Macro Remap functions come pre-configured with factory settings by default. However, since every game is different, the user is able to program the timing a button is being pressed (ON button timing) and the time between button presses (OFF button timing) via a programming mode.
Below is the table representing factory defaults as well as the Min and Max values:
| Sub-Mode | Min/Max ON Button Timing | Min/Max OFF Button Timing |
|---|---|---|
| 1 | N/A | N/A |
| 2 | 50 ms - 3 sec (default 100 ms) | 50 ms - 3 sec (default 150 ms) |
| 3 | 50 ms - 3 sec (default 150 ms) | 50 ms - 3 sec (default 150 ms) |
| 4 | 50 ms - 3 sec (default 150 ms) | 50 ms - 3 sec (default 200 ms) |
| 5 | 300 ms - 10 sec (default 3 sec) | N/A |
Button timing is programmed by individually setting up seconds then hundreds of milliseconds, then tens of milliseconds. The minimum unit of time that can be changed is 10 ms. The software won’t allow the user to go above and below the pre-programmed ranges.
When programming mode is entered, the timing may be adjusted in the following order: seconds, then hundreds of ms, then tens of ms.
Programming Mode:
All four LEDs will light up in WHITE to let you know that it’s waiting for further input.
The modchip displays the “seconds”' digit first.
The modchip displays the “hundreds of milliseconds” digit.
The modchip displays the “tens of milliseconds” digit.
EXAMPLE: The button timing you need to configure is 2.340 seconds.
Seconds: 2 seconds (digit 2 on the LED Indicator)
Hundreds of milliseconds: 300 milliseconds (digit 3 on the LED Indicator)
Tens of milliseconds: 40 milliseconds (digit 4 on the LED Indicator)
2.340 seconds = 2 sec+300 ms+40 ms
NOTE: The controller always remembers the last macro timing configured.
NOTE: There is an “8-second rule” that applies to “Programming Mode”. If there is inactivity for more than 8 seconds, the modchip will exit the programming menu automatically.
TIP: There is a “Quick Speed Scroll” option available on every Mega Modz Controller allowing the user to get to the desired value quickly and avoid waiting for the modchip to go through the sequence of digits.
Quickly tapping the R2 button will increase the value by the number of times the R2 button was tapped, getting the user to the desired value quickly.
Quickly tapping the L2 button will decrease the value by the number of times the L2 button was tapped, getting the user to the desired value quickly.
Example: Value 1 is showing. Tapping the R2 button 2 times quickly increases the value to 3. Tapping on the R2 button 5 times quickly increases the value to 6.
The modchip displays the active Macro Button configuration. When a Macro Button is activated, the modchip will display the paired stock button on the LED Indicator. Each stock button is color-coded. (See “Color Sequence For Mapped Buttons” section)
When a Macro Button is pressed, the modchip blinks the number of the sub-mode the Macro Button is currently set to on the corresponding Slot 1 or Slot 2 LED (top left or top right).
1 blink = 1ST sub-mode, 2 blinks = 2ND sub-mode and so on.
Slot 3 or Slot 4 LEDs (bottom left or bottom right) shows exactly what a stock button is doing by mimicking the time a stock button is being pressed and released and the time between button presses if applicable (sub-modes 2-4).
Condition:
L2 Button Is paired with the Left Macro Button
Sub-Mode #5 (Delayed Press)
The User Is tapping the Right Macro Button
Condition:
R2 Button Is paired to the Right Macro Button
Sub-Mode #2 (Turbo Function)
The User Is holding the Left Macro Button
This feature comes in handy when powering up the controller after a long break in order to find out what configuration is currently active or as a reminder during a game session.
The modchip allows the user to assign the same stock button to both Macro Buttons with different configurations or the same configuration (sub-mode, custom delays).
EXAMPLE: A Fire Button can be assigned to one of the Macro Buttons in the “simple remap” configuration (1ST sub-mode) for fully-auto guns and the same Fire button can be assigned to another Macro Button in the “Turbo” configuration (2ND sub-mode) for semi-auto and single-shot weapons. This feature offers a wide variety of options only limited by the user's imagination and creativity.
IMPORTANT: In the case where 2 Remap Buttons are paired with the same input button, the modchip will always prioritize the first pressed Macro Button over the other one if there is an interference in timing.
Any time the L1 button gets assigned to the Macro Buttons, the R1 button is acting as a “Cancel Button” for the L1 button input. It is a beneficial option for many games as those two cannot be used simultaneously in some gaming situations.
Each Macro Button can remember up to 14 configurations (1 configuration per each stock button (14 buttons) x 2 Macro Buttons = 28 configurations). If a gaming situation requires a different Macro Button setup, the user can easily pair another previously pre-configured stock button on the fly. (See “Assigning Stock Buttons” section). The modchip will always retrieve the last setup (sub-mode, timing).
The user can re-assign the Macro Buttons without taking their eyes off of the gaming action as the rumble motors in the base of the controller will give an instant vibration response (Duration - 1 second) once the task is accomplished.
EXAMPLE: The left Macro Button is currently being paired with the Left Stick and the right Macro Button is being paired with the Right Stick. The game round changes or there are new challenges where pairing other controller buttons would be more beneficial at that time. The R2 button and the button Circle have been previously configured with sub-mode 2 and custom timing and sub_mode 5 with custom timing respectively. The user can reassign these buttons to the Macro Buttons by following simple steps in as quickly as 2 seconds and enjoy new Macro inputs. (See “Assigning Stock Buttons” section)
IMPORTANT: Both Macro Buttons have separate memory storage. Any previously configured stock button on the Left Macro Button won’t appear on the Right one in the same unique setting and vise versa.
You will be able to quickly program the following popular mods yourself: Rapid Fire, Dual Trigger Rapid Fire, Auto Burst, Sniper Breath, Auto Sprint, and Auto Heal.
1. Rapid Fire unveils the full potential of semi-auto and single-shot weapons, making them shoot as fully-auto ones. The functionality is achieved by the modchip continuously pressing and releasing the Fire button as long as the user holds it down.
How to program Rapid Fire on a Macro Remap PS4 and PS5 controller?
The modchip will do automatic presses once a Macro button is being held down. You can speed up or slow down Rapid Fire shots (Fire Button presses) VIA Programming Menu (See "Setting Up Custom Values" section).
2. Dual Trigger allows you to have Rapid Firepower on both of your dual-wielding semi-auto handguns.
How to program Dual Trigger RF mod on a Macro Remap PS4 and PS5 controller?
Now every time you hold down both Macro buttons, the modchip will keep pressing and releasing them for you (Turbo Function). You can speed up or slow down Rapid Fire shots (Fire Button presses) VIA Programming Menu (See "Setting Up Custom Values" section).
3. Auto Burst mod allows you to set up a number of shots in a burst (2 or 3 shots) for any semi-automatic gun turning it into a military-style weapon. Once configured, your gun will shoot a burst of 2 or 3 shots on a single Macro Button tap.
How to program Auto Burst mod on a Macro Remap PS4 and PS5 controller?
Now every time you press the Macro button, your weapon will do a burst with the configured amount of shots. You can speed up or slow down Burst shots (Fire Button presses) VIA Programming Menu (See "Setting Up Custom Values" section).
4. Auto Sprint mod will make it easier for you to make your game character run. All you have to do is to specify the direction by moving your left stick up and briefly tapping on the configured Macro button. You can also configure the Super Sprint sub-mode for COD Modern Warfare.
How to program Auto Sprint mod on a Macro Remap PS4 and PS5 controller?
How to program the Super Sprint sub-mode?
5. Auto Heal mod is a special feature, greatly utilized in COD Blackout, allowing the user to heal the character without having to hold the healing button down.
How to program Auto Heal mod on a Macro Remap PS4 and PS5 controller?
Now, you don’t have to track the health meter bar on the screen and wait till it’s complete. The modchip will hold the healing button as long as needed allowing you to focus on tracking enemies and finding a spot to get to cover quickly.
6. Sniper Breath mod lets the user get the target better by holding the character’s breath during the aiming process automatically. Once you press the Aim button (L2), then tap the configured Macro Button and the modchip will keep holding the breath button for you allowing you to 100% concentrate on the target.
How to program Sniper Breath mod on a Macro Remap PS4 and PS5 controller?
Now every time you click on the configured Macro button while ADS, the modchip will keep holding the Breath button for you. Keep in mind that the modchip will hold the breath for the time allowed by the game, which is around 3 - 4 seconds usually. Some perks in the game may increase the “holding breath time”.
7. Armor Repair Assist mod is a special feature, that can be greatly utilized in COD Warzone, allowing the user to repair the armor without having to hold the repairing button down for up to 5 seconds.
How to program the Armor Repair Assist mod on a Macro Remap PS4 and PS5 controller?
Now, anytime you tap the configured Macro Button the modchip will hold the repairing button (Triangle) as long as needed allowing you to focus on tracking enemies and finding a spot to get to cover quickly.
The modchip allows the user to reset all configurations (sub-modes and timing) to the factory default settings and clear the Macro Button Inputs.
Here are the steps:
PS4 DualShock and PS5 DualSense Controllers:
All four LEDs will glow WHITE indicating the mod is now awaiting further input.
NOTE: If you entered “Programming Mode” accidentally or changed your mind on the way, you’ll have to wait 8 seconds for the modchip to exit “Programming Mode” automatically. There is no other way to exit the Programming Mode.
PS5 DualSense Edge Controller:
All four LEDs will glow WHITE indicating the mod is now awaiting further input.
NOTE: If you entered “Programming Mode” accidentally or changed your mind on the way, you’ll have to wait 8 seconds for the modchip to exit “Programming Mode” automatically. There is no other way to exit the Programming Mode.
Having issues operating your Macro Remap Modchip? Visit our Community Forums for troubleshooting.
Already have an account?