


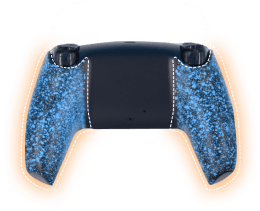


PS5 Controller Shoulder Button Extenders
Custom Triggers & Bumpers to Increase
Speed and Improves Accuracy
Update your browser to view this website correctly. Update my browser now
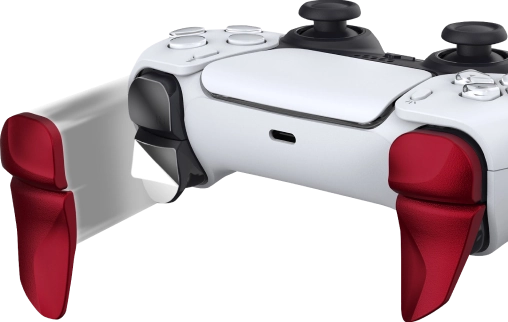
PS5 Controller Shoulder Button Extenders
Custom Triggers & Bumpers to Increase
Speed and Improves Accuracy
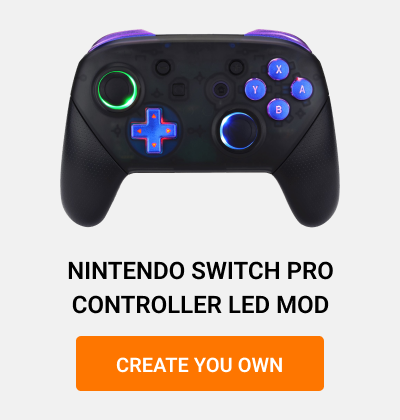
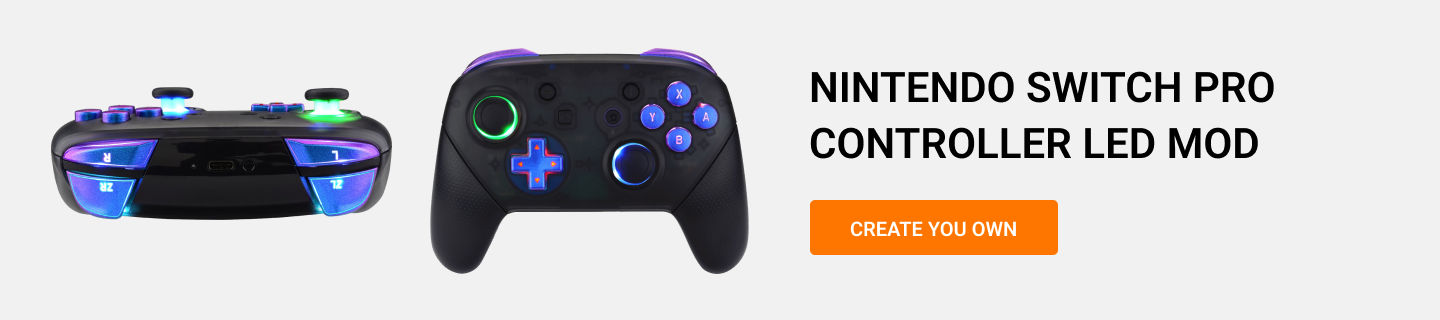
The Mega Modz Nintendo Switch LED Mod offers 7 illuminating colors: red, green, blue, yellow, pink, purple, cyan, And 2 additional sub-modes with slow and fast blinking, cycling through all available colors. RGB Lighting can be turned OFF at any time. The user can also mix and match their LED Illumination in 6 individual controller button areas independently or turn off the color of any button area at any time.
The button areas are the following:
There are 3 stock controller buttons involved in the process of configuring LED Illumination on the Mega Modz RGB Nintendo Switch Pro Controller.
The configuring buttons are the following:
Depending on the operational step a combination of these buttons needs to be either quickly pressed or held down for a certain amount of time.
To turn the Controller’s Illuminating components ON, please follow the steps below:
— Hold down the L (Left Bumper), then press and hold the D-Pad Right Button, then press and hold the Y Button for approximately 7 seconds (the timer kicks In when all 3 buttons are pressed).
All Illuminating Areas on the controller will light up according to the last saved configuration.
— Use the same steps as above to turn the Illumination OFF. Please keep in mind that turning the controller off won’t automatically turn the Illumination off. It’s a manual step that is recommended to preserve the controller battery charge.
Programming mode allows the user to change illuminating colors/modes in the individual button areas.
In order to enter a Programming Mode please follow the steps below:
— Hold down the L (Left Bumper), then press and hold the Y Button for approximately 7 seconds (the timer kicks In when both buttons are pressed). The Right Thumbstick will start blinking, indicating that the programming mode has been entered.
Now the user has 3 options:
— Enter a Programming Mod menu (see above).
— To change the Right Stick LED color/mod (or any other area) quickly press the D-Pad Right to go to the next color/mod or quickly press the L (Left Bumper) to go to the previous color/mod.
Please refer to the table below with LED color mods.
When satisfied with the settings move to the next button area by quickly pressing the L (Left Bumper) and the Y Buttons simultaneously (2nd Option).
Please refer to the table below with LED Button Areas:
Please note that when moving between the button areas you can only go forward (1-6-1).
— When arrive at the area configure the color/mode (1st Option).
— When satisfied with the settings in all areas exit the Programming Mode Menu by holding down the L (Left Bumper) and the Y Buttons for approx 7 seconds at the same time (3rd Option).
Already have an account?